Once you have several virtual machines on your VMware workstation, you should give the importance to manage the inventory of VMs. Especially whenever you reinstall the host Operating System or switch the computers; it is better to migrate your collection of virtual machines rather than rebuilding them. Recently I had to reinstall my Windows OS and other programs including VMware workstation on the same computer. As expected, the VMware workstation looked fresh without any of my earlier VMs.
Let me show you how I managed to locate the earlier VMware workstation inventory file and migrated to the new installation. This step brought back all virtual machines in a minute. To make this method work, your computer disk/partition letters should remain the same. Also, if you can’t perform this task, then it is going to be a tough job to search for every VMX files for relevant virtual machines and add to VMware list. And if you usually do not keep all virtual machines in one location, then this will be a hectic job.
As a VMware virtual machine library backup, I suggest to regularly backup this inventory file which contains all details of the virtual machines.
Location of VMware Inventory Library File in Windows
We have published several guides about VMware workstation here. It is a robust and professional desktop virtualization software which can run on Windows and macOS to allow virtualizing almost all Operating Systems.
Even if not, by opening the inventory file, as shown below, will give an idea of the virtual machine’s location from your old OS. That would be helpful to rebuild the VMware workstation inventory quickly on the new installation.
Here is the location of the virtual machine inventory file on the Windows computer.
(Userprofile\AppData\Roaming\VMware)
If you have migrated the current Windows OS from an older different computer or reinstalled the OS on the same computer, you should locate this folder in the previous Operating System.
My Example:
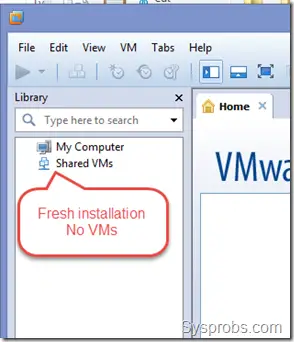
Here is the new installation without any VMs. I was clueless about how to get back my VMs list.
Since I can access my old user profile, I was able to trace the inventory file and move it quickly to the new location. Here is the path of the file (Userprofile\AppData\Roaming\VMware).
You may need to enable “show hidden files and folder option” on Windows 10 or 8.1 to see these files.
You can open the inventory.vmls in any text editing software and view the settings, like VM name, virtual hard disk path, hardware configuration etc.…
Simply overwrite the new file at a new location with the old inventory.vmls file that will bring back the same virtual machine library to the new Windows OS and VMware workstation installation.
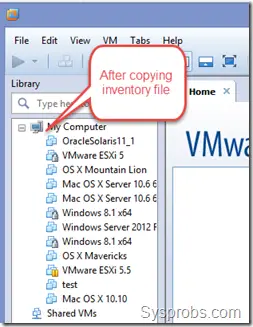
Here how it looked in a minute after copying the file.
If you have ever come across this situation, I’m sure this method will be useful to get back the VMware virtual machine list/inventory to the new installation on Windows computer.


