If you are an Office 365 administrator, you need to connect to the O365 Security and Compliance Center via PowerShell for specific functions. PowerShell connection provides various extensive activities that you can’t do via the web browser/GUI.
In this article, let me show you how to connect the Office 365 Security and compliance center first time on a Windows 11 computer. Obviously, these steps are applicable for Windows 10 and earlier versions also.
If you have already used the same computer to connect the Office 365 via PowerShell before, you can skip a few steps. But overall, these are the steps you must follow on a new computer if you are trying it the first time.
Steps to Connect Office 365 Security Center by PowerShell
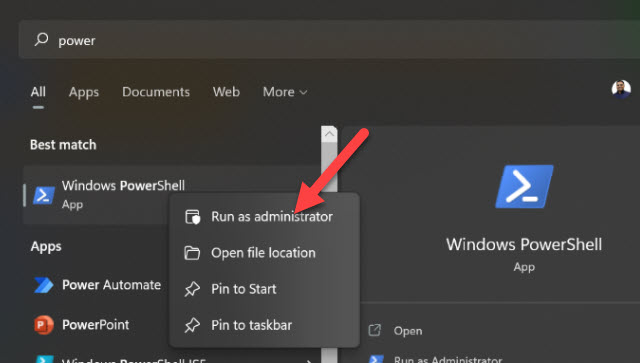
1) Open the PowerShell as administrator and enter the below command. This enables remote sign-in which will allow executing a few scripts and commands later.
Set-ExecutionPolicy RemoteSigned2) Type and run the below command to install the required packages.
Install-PackageProvider -Name NuGet -Force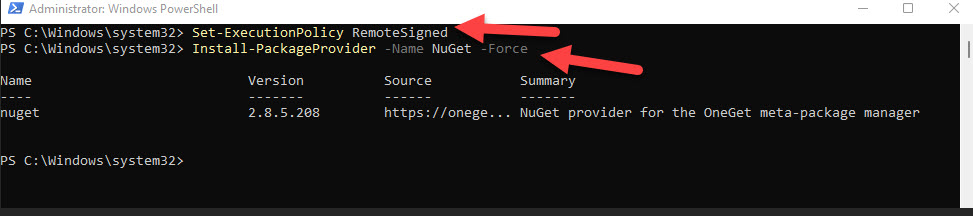
It is better to close and open the PowerShell now.
3) Then provide this command to install relevant Exchange online modules.
Install-Module -Name ExchangeOnlineManagement
4) Based on the geographical location that your Office 365 tenant hosted, you need to enter the URL in connection Uri.
Usually, it should work without any additional URL key if you have a standard O365 tenant without any specific geographical restrictions.
You can find more information here from Microsoft.
So, here is my example command:
Connect-IPPSSession -UserPrincipalName testacc@sysprobs.comThe user account should have global administrative access to the Office 365 tenant.
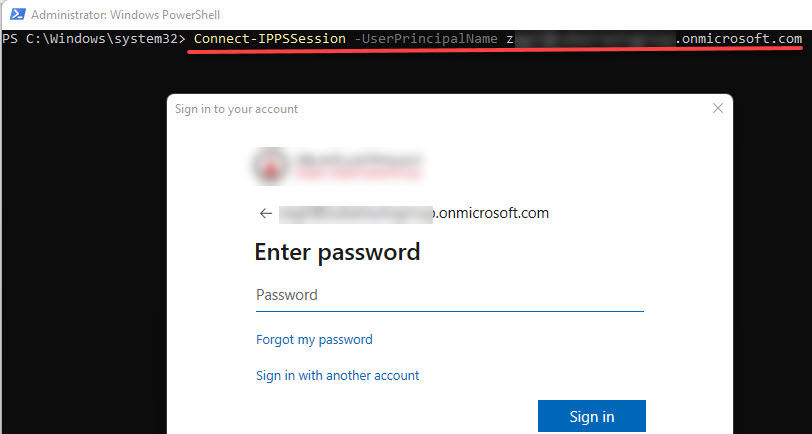
This will pop up for the password screen; provide it to continue further.
Once the correct password is provided, it will establish the connection.
5) How to check whether we are connected to Office 365 security and compliance center?
Just execute the below command to verify the existing policies.
Get-RetentionCompliancePolicy
Now you can carry out the desired tasks in this PowerShell session.
6) Once all tasks are completed, it is recommended to disconnect the active session properly with the below command.
Disconnect-ExchangeOnline7) Also, as you can remember, we enabled the Remote sign-in in the first step. Now we can revert to default settings to make your computer or server protected.
Execute the below command to disable the remote sign in PowerShell.
Set-ExecutionPolicy -ExecutionPolicy RestrictedThere you go, now we know how to connect the Office 365 security and compliance centre from PowerShell in a new Windows 11/10 computer. Do let us know how this guide is useful and what other alternative steps you followed to accomplish this similar task.

![[Fixed] Outlook Password Pop Up Screen is Blank/White – Disappears](https://www.sysprobs.com/wp-content/uploads/2019/11/MS-Outlook-211x150.jpg)