The current active partition is compressed necessarily exclusive to Windows 10 & 11. The problem appeared on older versions of Windows 7,8 & 8.1too.
When users switch to a new version of Windows from an older one, they must choose between two options. Either they can install a clean Windows after formatting the drive or upgrade the older version while keeping the data. The latter option is the most convenient and preferred by most users across the globe.
However, some users come across this problem after choosing the latter option. Ultimately, they are stuck, and the upgrade can’t continue. Fortunately, there’re solutions for every issue. We have listed the fixes for this issue in the article below.
Things to Do Before Upgrading Windows
Identify Which Partition is Active
Before upgrading Windows, it would be wise to check which partition is active on your computer. There’s a procedure for that. Let’s check it out.
- Type Computer Management in Windows Search.
- Choose to Run As Administrator.
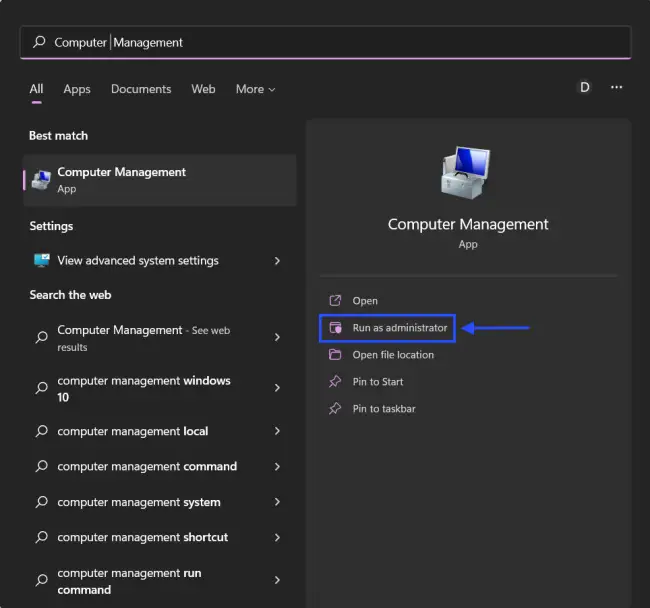
- On the computer management window, navigate to Disk Management under Storage.
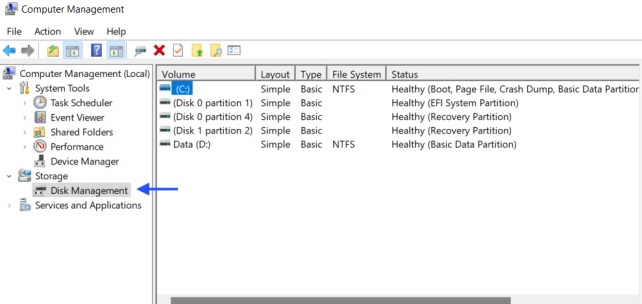
You have to wait a while, depending on your system. The disks will be visible after a period, and the details will clearly state which partition is Active.
Assigning a Drive Letter to the Active Partition
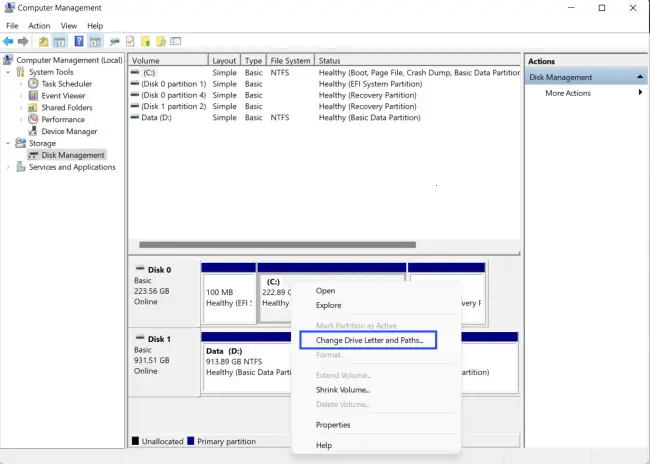
You can also assign a number to the active partition via Disk Management.
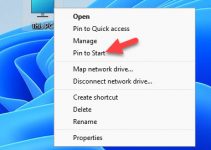
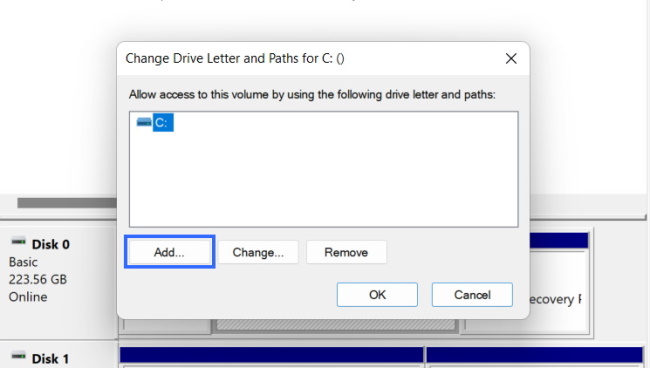
- Right-click the active partition in Disk Management.
- Choose the Change Drive letter and Paths option.
- Use the Add button to assign a drive letter.
Is the Partition Compressed?
Now that you have found out which partition is active and assigned it a drive letter, it is time to find out whether the drive is compressed.
- Open Windows Explorer.
- Right-click the Active partition.
- Select the Properties option from the drop menu.
- Navigate to the General tab.
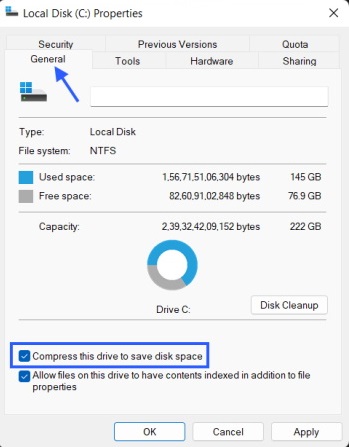
At the bottom, you will see the Compress the Drive to Save Disk Space option. If there’s a tick mark on the box beside, you can be sure the drive compression is enabled. Also, the compressed drive doesn’t necessarily have to be the C drive.
5 Ways to Fix Disk Controller: Current Active Partition is Compressed in Windows
Believe it or not, the current active partition is compressed in Windows is a typical error. Disk compression is a trending procedure, and numerous users are implementing it to save storage space.
That said, the issue is fixable. There are some verified solutions available. Let’s have a look.
1. Disable Drive Compression
If you have compressed the active partition to save storage space naturally, you will get this error.
If you haven’t, then you should know that sometimes Windows compress the drive automatically to preserve space. So, this partition compression may have caused the Windows upgrade failure. The issue would resolve if you disable the drive compression for that partition.
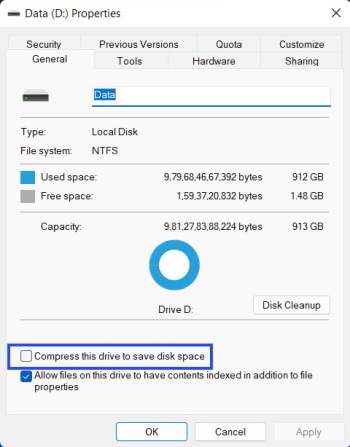
Previously, we discussed how to check for a compressed partition. Employ the same method. In the end, uncheck the box beside the Compress the Drive to Save Disk Space option to disable drive compression.
After that, try upgrading the Windows, and you won’t be stuck with the current active partition or disk controller compressed issues.
2. Scan Disk Drive for Errors
One of the reasons behind the disk controller compressed error on Windows is the hard drive malfunction.
So, if you have already tried to fix the problem by disabling drive compression and failed, it is worth checking the health of your computer’s hard drive.
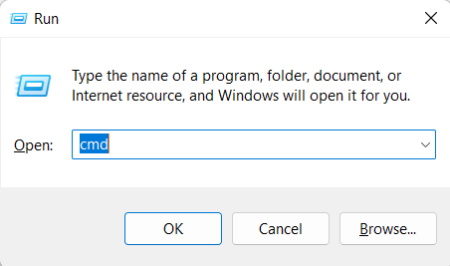
- Press Win + R to launch the RUN dialog box.
- Type cmd in the box and press Ctrl + Shift + Enter to run Command Prompt with Administrator privilege.
- Now, type the chkdsk c:/r command in the command prompt window. (C is the drive letter of the partition you want to check if the drive letter is different for you; suppose D. You need to replace C with D in the command.)
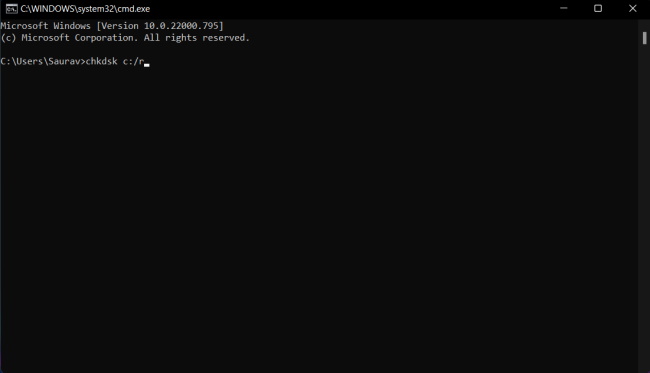
- Hit Enter.
The hard drive scan will start immediately. Wait until the scan finishes. After that, try upgrading Windows again.
3. The Reserved Partition
The reserved partition is a small part of your system. Most users aren’t aware of it as it is a small partition. The size is about 500MB. It is named System Reserved, and all the essential installation data are stored here.
The System Reserved Partition must meet the following requirements for upgrading Windows successfully.
- The partition must have 500MB of space.
- The partition must be Active.
- Make sure the partition is Not Compressed.
So, check all these conditions before moving on to the upgrade procedure.
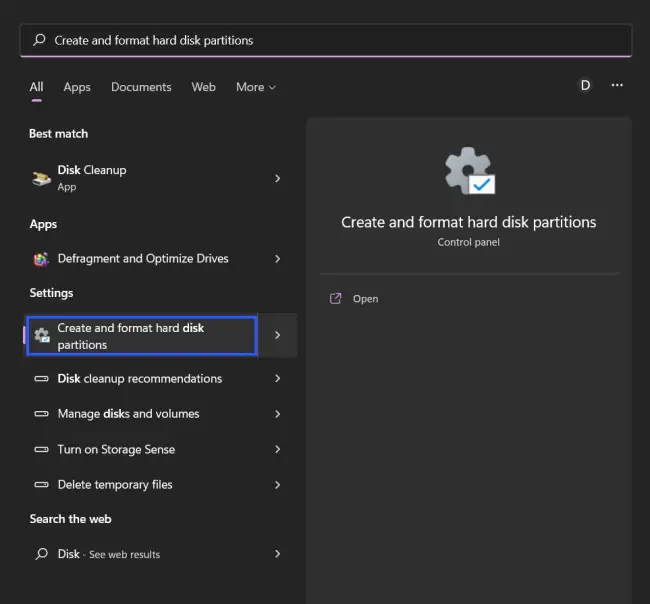
- Type Disk in the Windows Search bar.
- Select the Create and Format Hard Disk Partitions from the listed options.
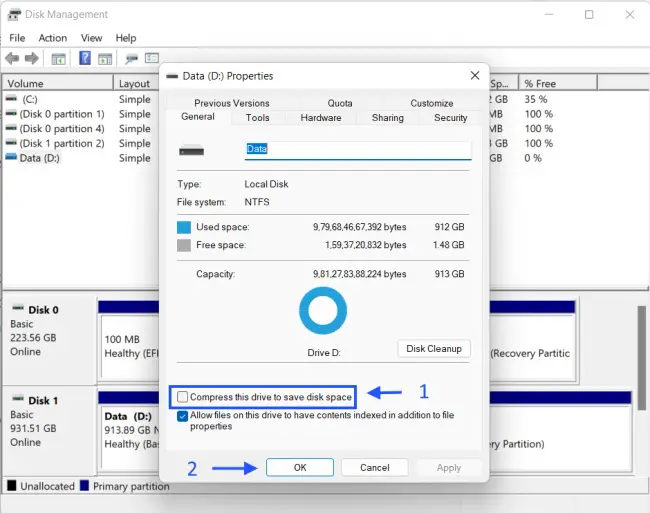
- Right-click the System Reserved Partition and choose the Properties option.
- Navigate to the General tab, uncheck the Compress This Drive to Save Disk Space option, and save the changes.
So, be sure to follow all the listed conditions. They need to meet to upgrade Windows successfully. Now, restart your PC and give Windows upgrade another try. You will not get the current active partition is compressed on the screen.
Tip: You can also try your hand at third-party solutions for better and easier ways of managing partitions.
4. Use the Media Creation Tool & Upgrade to the Latest Version of Windows
Still bothered by the error on your computer?
Don’t worry, even if you are facing disk controller compressed. You are still not out of options. You can use the Media Creation Tool to upgrade Windows successfully. The tool is available for free on the Microsoft website.
- Download Media Creation Tool from the Microsoft website.
- You will require a USB Flash Drive with at least 8 GB of storage. Connect the USB Flash Drive to the computer.
- Run the Media Creation Tool and accept the License Terms.
- Choose the Create Installation media (USB flash drive, DVD, or ISO file) option for a different PC.
- Select your preferred language, architecture, and edition.
- Click Next.
- The Media Creation Tool setup will begin, and the tool will copy the installation files onto the USB drive.
- Now, back up your files.
- Restart your computer.
- Access the boot menu. It can be F10, F11, or F12. It depends on the motherboard you are using.
- Confirm your preference and choose to Upgrade, and do not choose the Custom installation.
Let the installation finish. The procedure is considerably simple. Just make sure to back up your files. Otherwise, you will lose them forever.
Tip: You can also check the steps to Create MS-DOS Bootable USB on Windows.
5. Clean Windows Installation
If none of the procedures has worked, and you are still stuck with the current active partition is compressed on the screen, we recommend a clean Windows installation.
Some users may not be happy with the solution as they have let go of all the original apps and data.
On the contrary, this is a better fix. So, if you have enough storage, configured the reserved partition, and disabled partition compression, proceed with a clean Windows installation. Just back up all the files before initiating the process.
Frequently Asked Questions
What is drive compression in Windows?
Drive compression is a Windows feature that allows users to compress various drive partitions automatically. Primarily this procedure is used to save storage space.
Does drive compression leads to data loss?
No, it does not. The drive compression feature on Windows is safe. But there is a catch. According to Windows experts, the users should only use drive compression if their system has a mid-range or high-end CPU and a good SSD. Otherwise, they may face issues with Windows drive compression.