MSI laptops are known to be among the best PCs for gaming and productivity enhancement. Besides, you need to understand how to capture a screenshot on MSI Laptop, whether you are a gamer who wants to document wins or someone who needs to capture photos for professional work.
Whenever we review laptops for a certain purpose or price range, you will probably find an MSI model on the list since it is an unavoidable brand in the laptop market.

If you are a MSI user with Windows 10 or Windows 11, in this guide, we will share each step of taking a screenshot on MSI laptop.
Let’s get started!
How to Take a Screenshot On MSI Laptop
1. Take Screenshots Using Snip & Sketch Tool
Snip & Sketch is a pre-installed application that lets you capture screenshots on your laptop. In addition, the tool allows you to annotate screenshots and draw and sketch directly on your screen.
Here are the simple steps to use Snip & Sketch tool
Step 1: Go to the Windows search bar, type “Snip & Sketch,” open the application

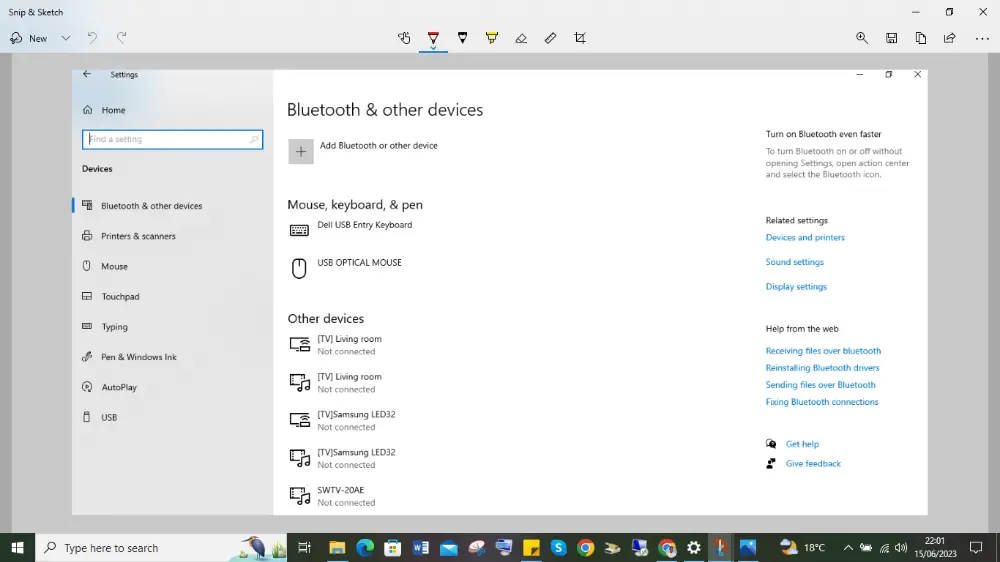
Step 2: Choose the windows you need to capture the screenshot.
Press the combination of the “Windows” key, the “Shift” key, and the “S” key on your keyboard.
This action will dim your screen, allowing you to use your mouse cursor to choose the specific portion of the screen you wish to capture in the screenshot.
Step 3: Let go of the mouse button to capture the screenshot. The captured image will appear in the Snip & Sketch window. In this window, you can access various tools on the toolbar, such as the highlighter, pen, and eraser, which can be used to add annotations to the screenshot.
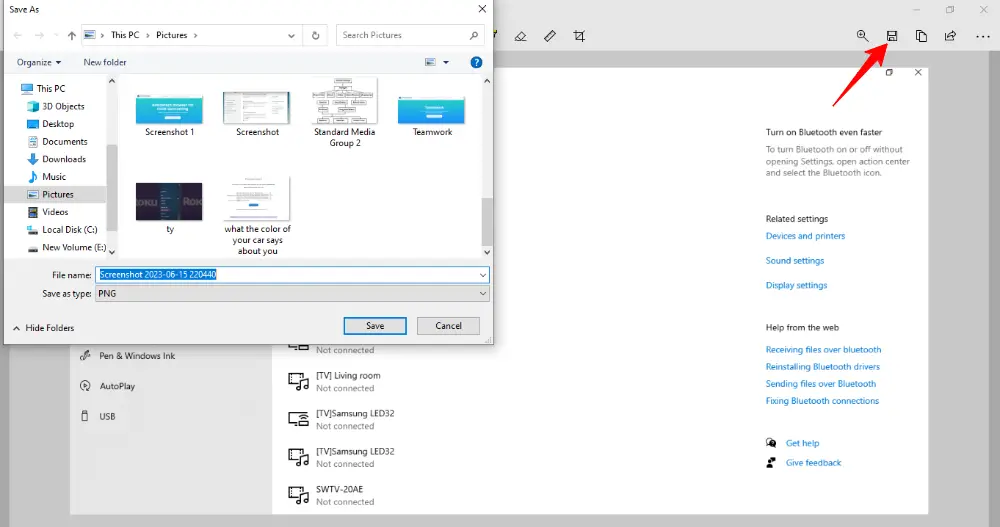
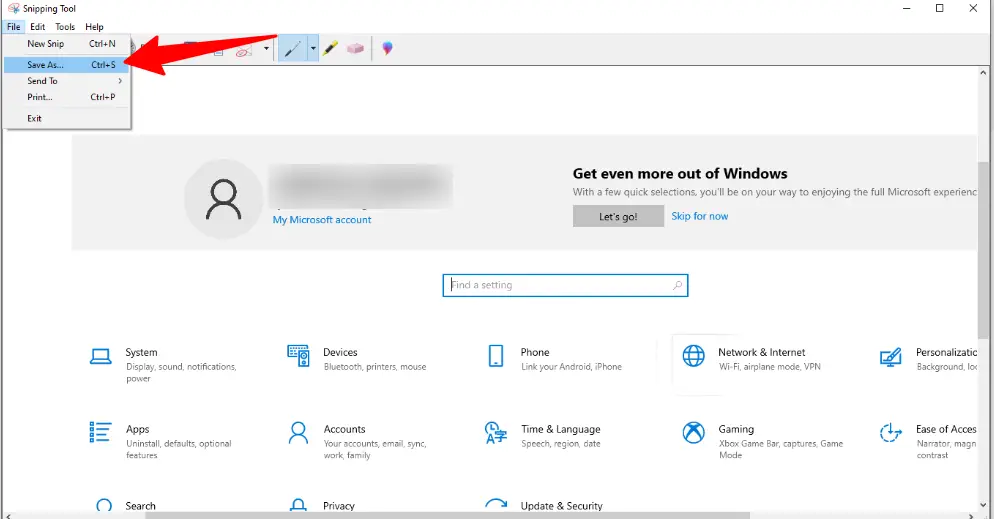
Step 4: If you need to save the screenshot, navigate to the menu, then select “Save As.” at the top right. You can go ahead and save your screen shoot at your desired location.
2. Use the Windows + Print Screen Keys
The easiest way to get a screenshot on your MSI laptop is by using the PrintScreen key. Let’s learn precisely how to use the PrintScreen key to capture screenshots. Keep in mind that a keyboard is required for this.
Step 1. First, open the website or the app you want to take the screenshot. Ensure that the application is in full-screen mode on your MSI laptop when capturing a screenshot of the entire screen.
Step 2. Check at the top-left line of your keyboard; you’ll see the “PrintScreen” key. Sometimes, the Key might be labeled as “PRTSC” or PrtScn, depending on the keyboard type.

Step 3. Press both the “Windows” + “PrintScreen” keys simultaneously. Your screen will blink once, which indicates you’ve already taken the screenshot.
Step 4: After capturing the screenshots, you can locate them in the “Pictures” folder under the “Screenshots” subfolder.
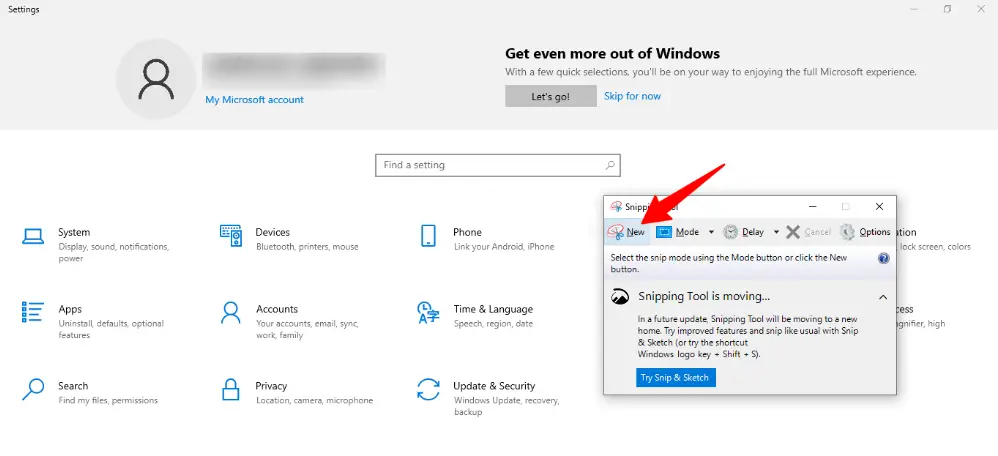
3. Taking Screenshots Using the Snipping Tool
Snipping Tool is another pre-installed screen capture tool compatible with Windows 7,8,10,11. Using this tool, you can capture your screen or a particular window on your computer screen.
Let’s explore the steps for taking screenshots on an MSI laptop using the Snipping Tool.
Step 1: Navigate to the Windows search bar, type in “snipping tool,” then open the application.
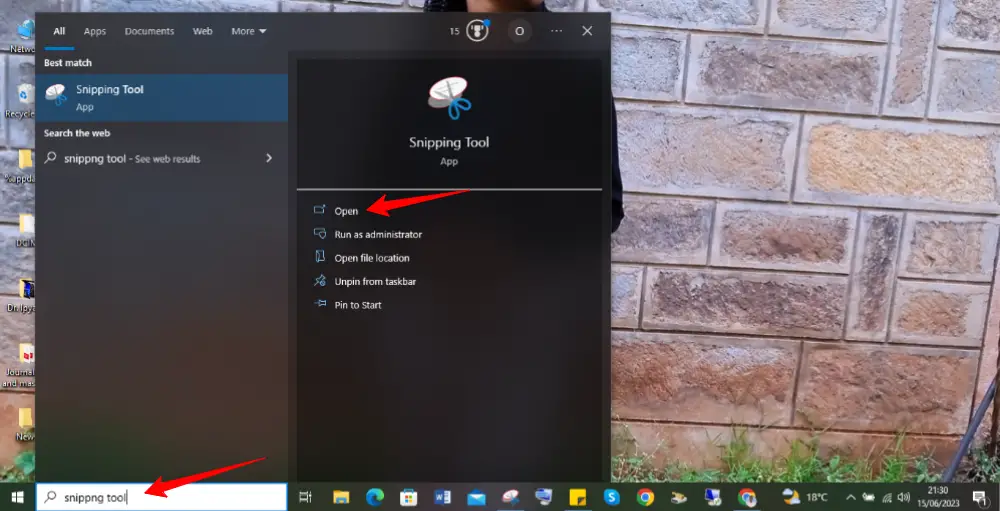
Step 2: You’ll see a snipping tool pop-up. To capture a screenshot, open a new tab and click on it.
Step 3: Next, press and hold the left mouse button, and while keeping it pressed, move your mouse to outline the preferred area for the screenshot. Once you have selected the area, release the mouse button, and a screenshot of the chosen portion will be taken.
Step 4: Finally, you can choose “save snip,” where you can provide a name for the screenshot and save it in the preferred location on your laptop.
4. Use the “Alt + Print Screen” keys
You can simultaneously press the “Alt” and “Print Screen” keys to capture a screenshot of the currently active window. This action will duplicate the screenshot and save it to the clipboard, allowing you to paste it where you want on your MSI laptop.
Step 1: On your laptop, go to the window you want to take the screenshot, then click on it to activate.
Step 2: Simultaneously press the “Alt” and “Print Screen” keys on your keyboard. The screen will briefly darken as a signal that a screenshot has been captured.
Step 3: Open the folder or document you wish to paste the screenshot. Use the key combination "Ctrl + V" to paste the screenshot.
Final Word
Capturing screenshots can be pretty tricky if you don’t have the right tool. We have provided four easy methods to capture a screenshot on an MSI laptop. The fact is, the above methods apply to any brand of laptop. Since these methods mainly depend on the Windows Operating System and its applications, ensure you have the correct programs installed and identify the right keys on the laptop. Feel free to test them out and determine the best for your needs.