If you are thinking to get the experience of Chromebook and its OS without buying it, trying the Chrome OS in VMware or VirtualBox with your Windows computer is the ideal way. Chromium is a lightweight browser-based OS that allows accessing most of the Google and Andoird apps. The Chromebook is suitable for kids and education where you can do most of the tasks online with Google apps and cloud storage. More importantly, Chromebooks are affordable.
Since it is not that simple to install the vanilla version of Chrome OS, we can use the other alternate options. Thanks to Neverware CloudReady project which takes the Chromium OS and add additional support and features. They keep their version for home use free, and luckily they have the pre-installed image for VMware. Earlier they used to produce for VirtualBox platform, for some reasons they stopped developing for VirtualBox.
In this guide, I will show you how to install Chrome OS on VMware workstation. The latest available version from Neverware CloudReady can be used directly. By searching the Internet, you may get the older version which supports Oracle VirtualBox, I will mention that also here.
If you like to install CloudReady Chrome OS on the physical computer, you can check the supported hardware list here.
Requirements
a) VMware Workstation or VMware Player
b) Download the CloudReady Home Edition of Chrome OS
Steps to Install Google Chrome OS in VMware Workstation
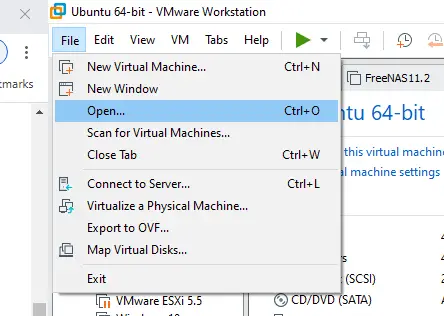
1) In VMware workstation or VM Player, click Open from the file menu.
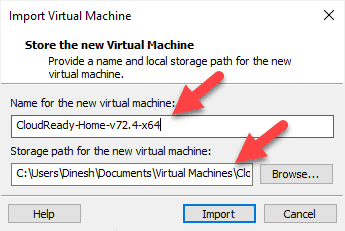
2) Browse the OVA file you downloaded. Give a name for the virtual machine and change the storage location if you need to change the default path.
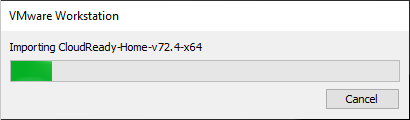
Wait for the import process to over. Once it is completed, we are good to start the VM.
3) Power on the VM. If your physical computer supports hardware virtualization and it is enabled on the BIOS, the VM should boot without any issues.
4) We need to follow the initial settings. This setup needs an internet connection. You need to use your existing Google account to login the Chromium OS on VMware. If you do not have Google account for this purpose, create a new account and use in the virtual machine.
5) Internet Issue
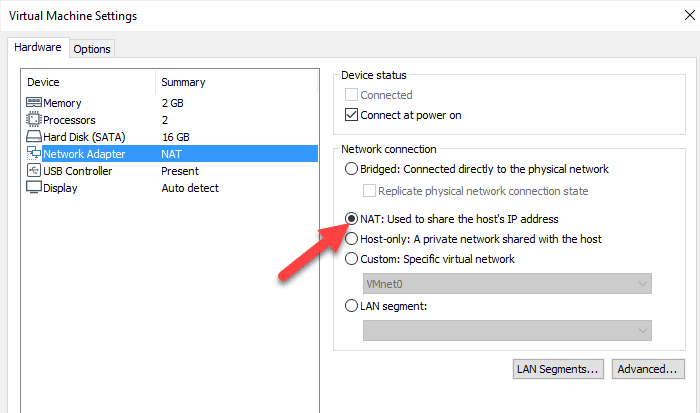
By default Bridged Mode would be enabled for this VM. If the Chrome OS is not getting the proper network connection and internet, then you need to change connection mode. For me, with the Bridge mode, it did not work.
I need to change the connection type to NAT, then the Internet worked inside the Chrome OS in VMware.
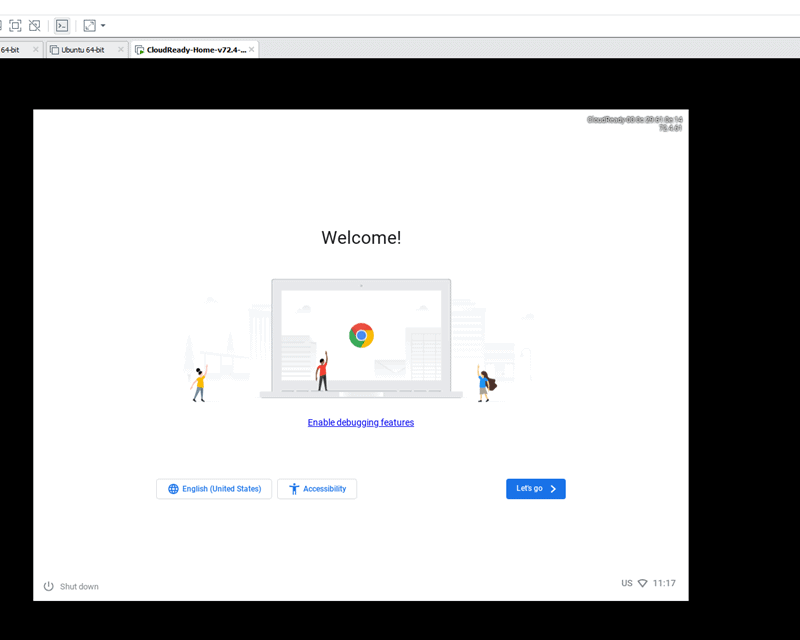
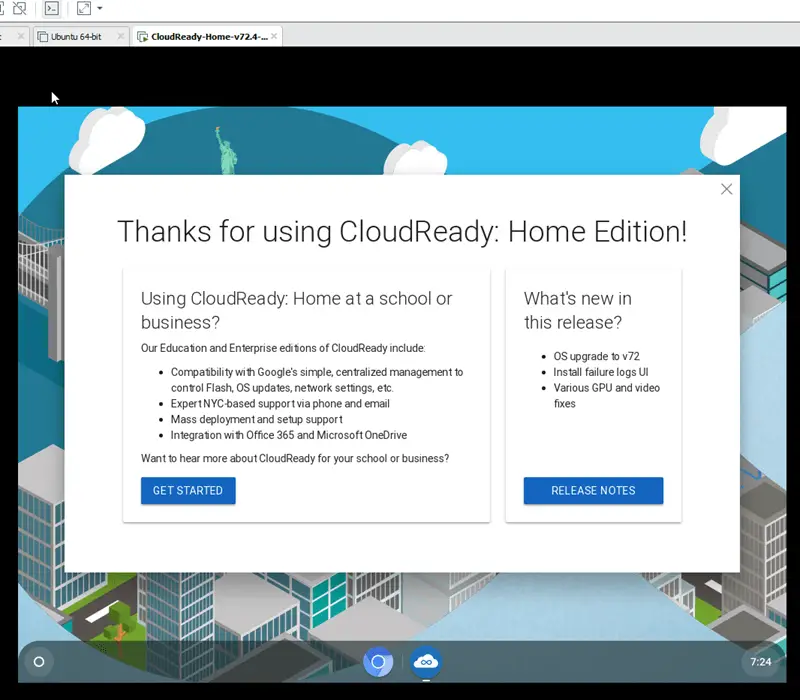
6) With the working internet, once the initial setup is done, you will land on the welcome screen as below.
7) The experience inside the VM is superb, I can firmly say that this image is well optimized for VMware platform. You can increase the processor cores and RAM size if you need better performance.

8) You can customize and change the settings of Chromium OS by accessing the settings. It has many settings you can play around.
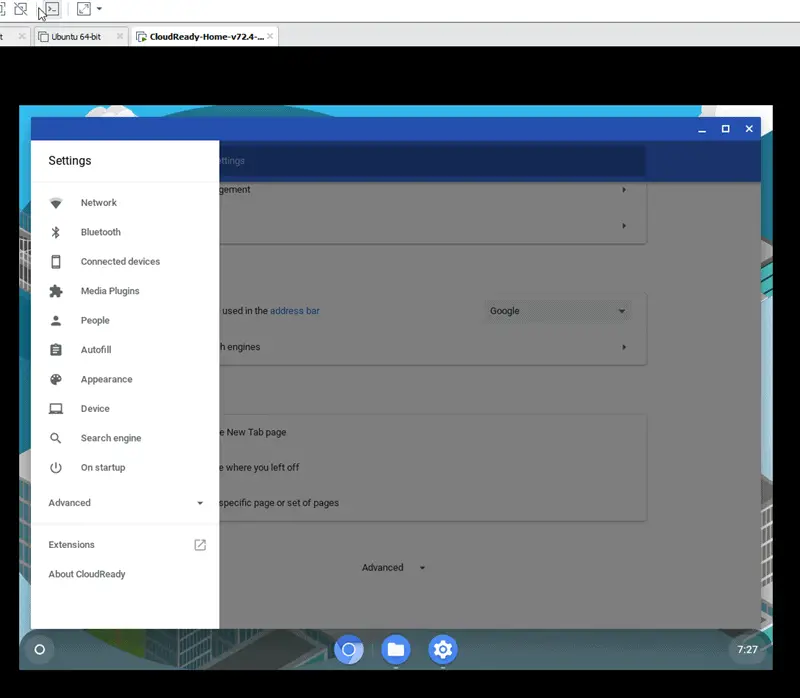
Always check for the updates to keep the Chrome OS up-to-date inside the VMware.
Install Chrome OS on VirtualBox
As mentioned earlier, we will use the CloudReady image which was released somewhere in 2017. It is completely up to you decide this step since it might be a little risky. This image is no longer supported by Neverware. Even the download of this image is maintained by an unknown person.
1) Either you can Google for ClouReady VirtualBox image OVA file or get the link from here.
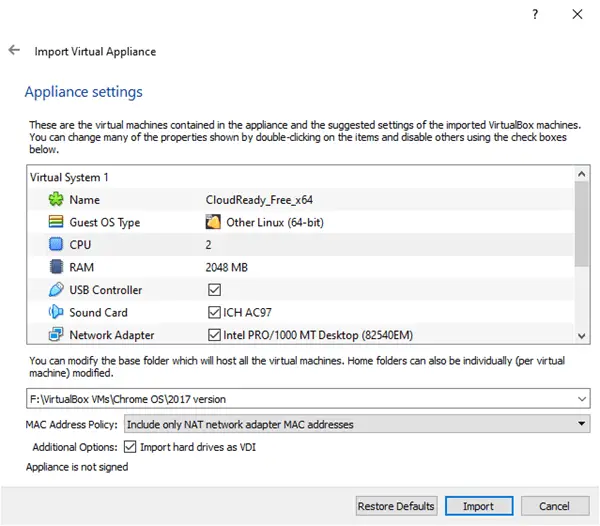
2) Once downloaded, open it from Oracle VirtualBox. Import appliance option.

3) You can customize the hardware options while importing. Like, RAM and number of processor cores can be increased here.
4) Once the import succeeded, power on the VM and follow the initial steps. Since it is the older version, you may not get the same experience as the latest release. It found some updates and completed successfully. Client VM network worked directly in the VirtualBox NAT network option.

Final Note
It is highly recommended to download the latest official pre-installed image for VMWare from ClouReady website. It will be more secured and up-to-date with the features. Even if you do not have VMware workstation, you can use the free VMware player to run Chrome OS on your Windows or Mac or even on the Linux physical computer. If you are not bothered much about these concerns but you like to have it on the Oracle VirtualBox, then you can try the 2nd option with your own risk.
It is ultimately a good option to use Chromium OS as a virtual machine on a Windows 10 computer by using any of the above methods.

![[Guide] How to Merge Snapshots in VMware Workstation?](https://www.sysprobs.com/wp-content/uploads/2010/09/p2v-in-virtualbox-by-disk2vhd-211x150.png)

Thanks for a good article. I just wanted to add that in a similar scenario, I have written a step by step article on how you can virtualize Chromium OS but using VMWare server 2.0, which is a free product. If you are interested, please do have a look and any feedback is welcome, the article is located at http://indiawebsearch.com/content/how-to-run-googles-chrome-os-as-a-virtual-machine-on-vmware-server
i installed Chrome OS on two of my netbooks. the Chrome OS works great and its loading time is very fast too.
I have tried using Chrome OS in one of my desktop PC’s, the overall performance is above average to excellent ‘
hi,
What are the new username and password? enming is not working.
Have you tried your gmail account user name and password?
Hi,
I believe I’ve download and installed google chrome OS (it is just VMDK) on our ESX farm, I’m not able to find the IP of that VM once configured, and let me know if i miss something?
Downloaded from http://chromeos.hexxeh.net.
Sanjai
I happen to be writing to make you know of the fine experience my wife’s child developed reading your web page. She figured out many issues, with the inclusion of what it is like to possess an awesome teaching mood to have the rest without problems gain knowledge of chosen specialized topics. You truly surpassed my expectations. I appreciate you for providing those helpful, trusted, edifying not to mention cool guidance on your topic to Emily.
Nice and beneficial info. Let me subscribe your web site. Thnx. continue the great work
i’m using VMware® Workstation v 7.1.3 build-324285 and made all steps as u wrote it but after i pressed run the machine, it’s just display a black screen
plz tell me the hardware compatibility “workstation 4 or 5 or 6 or 6,5-7” because after step 5 the program asked me to convert the virtual hard disk to this compatibility
thx