Upgrading your computer’s hardware is a great option to breathe new life into it. Still, there are times when it’s necessary to upgrade your motherboard before you can install a new CPU, RAM, or even a high-end display card.
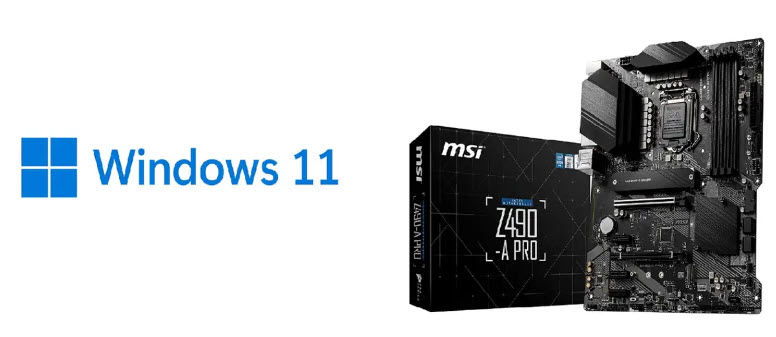
Most PC users will have installed and reinstalled an operating system on their machine when upgrading their system components. This post will show you how to upgrade the motherboard without reinstalling the OS.
Precheck before upgrading Motherboard without reinstalling Windows 10/11:
Before upgrading the motherboard, it is advisable to test whether the new motherboard is compatible with all other devices, like RAM, Storage, CPU, etc.
- If the current BIOS version is lower than your new motherboard, update it before replacing it. You can follow the instructions on your computer’s manual or go to its manufacturer’s website for instructions.
- Some boards may not be compatible with specific processors and memory modules, so you should check if they are compatible with each other before buying them. The best way to do this is by checking their respective product pages on manufacturers’ websites, which usually list all compatible parts for each model in one place.
- Download and install necessary drivers for any components being replaced to avoid problems later on when installing Windows 10/11 again after replacing everything else on your PC. Some manufacturers provide their software, Drivers & Downloads, on their support pages.
How to Check Motherboard-CPU compatibility?
There are various ways to check system compatibility, out of which here are 2 ways:
- Using OEM portal: Usually, motherboard OEM has a list of supported CPUs that will go along with the model, user can check the portal to get a clear idea.
- Using third-party sites: websites like cpu-upgrade helps to find all CPU-gen models supported.
How to Upgrade Motherboard Without Reinstalling Windows 10/11:
The process is similar to replacing the processor, but there are more components to remove and install.
- The first step is ensuring your old motherboard works appropriately with its new components and software. Try the new features on your old setup before purchasing them. It will help you save money on unnecessary purchases later on.
- Once you’ve done this, connect your old computer to a working power source and turn it on. Boot into the BIOS setting and make sure all hardware settings are correct for your new parts (i.e., SATA controller mode). Save all changes before exiting BIOS.
- Now that all hardware settings are correct and working correctly, let’s move forward with the actual upgrade process:
- Before installing your new motherboard and CPU, ensure you have all the necessary tools. The essential tools include a screwdriver set, thermal paste, thermal interface materials like copper or adhesive pads, an anti-static wrist strap, and possibly a set of tweezers to handle tiny parts like jumpers or resistors that may be included with your motherboard.
- Suppose your new motherboard is incompatible with the processor you installed on your old computer. In that case, you’ll need to upgrade the CPU as well.
- Disconnect all external devices from your computer, including the mouse and keyboard.
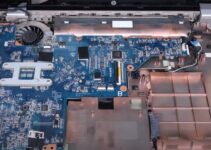
- Disconnect the old computer from the power source and remove all cables. Remove the case cover and place your motherboard on a non-static surface (i.e., cardboard or cloth).
- Remove the old motherboard from its case by unscrewing the screws holding it in place. Set it aside for now. Place the new motherboard inside your computer case and connect all necessary components (power supply unit, hard drive, CPU fan).
- Unplug all cables that are connected to the old motherboard. It includes power connectors, SATA cables, and other cables connected to your current motherboard.
- Position the CPU cooler on top of the motherboard. The heat sink should be facing away from you when you place it on top of your new CPU cooler, and this will allow for easy installation later in this guide.
- Securely fasten the CPU fan onto your computer case using screws provided by the manufacturer. Most heatsinks are held in place with metal brackets and screws included with every purchase; make sure to use these before continuing with this guide.
- Connect back all peripherals like RAM, Disk drive, Keyboard, and Mouse and boot the computer after ensuring everything is set.
- The first boot after hardware may take a while. Hold for some time for the system to adjust to the new changes.
- Once the system boots back to Windows, you are all set to go!
- Doing a full Windows update with the new motherboard is highly recommended. Alternatively, you can visit the motherboard manufacturer’s website and download the relevant drivers to update your computer with the latest drivers.
Can I upgrade the CPU on Windows 10/11?
Yes, you can upgrade the CPU on Windows 10/11. You need to check if your motherboard is upgradeable. Then, replace the motherboard without reinstalling Windows 10/11.
Can I swap motherboards without reinstalling Windows?
Yes, you can swap motherboards without reinstalling Windows. If you’re replacing one component with another, then there’s no reason to reinstall the operating system.
Upgrading the motherboard doesn’t require reinstallation of the OS. This process can be quickly done also in the case of a hard disk, where an OS running on an old disk drive can be moved to a new one without reinstalling it.
Do let us know your thoughts about this. Have you ever tried to upgrade PC parts without reinstalling Windows in the comment section below?