DigitalOcean is one of the great cloud providers for beginners, developers, and Linux lovers. I have experience working on MS Azure cloud to manage and host business workloads. I started using DigitalOcean for my online business and instantly liked the platform due to the vast set of features, low cost, and simple interface.
Since the competition among Cloud providers increases rapidly, everyone frequently adds new features to their services. Spaces by DigitalOcean is an excellent cloud storage service you can find on the Internet.
Through the web browser, we can’t upload a single file that is more than 2GB to Spaces. Also, DigitalOcean does not provide any GUI tools to manage its storage. Hence, we need to depend on 3rd party tools and scripts. In this guide, let me show how to upload more than 2GB single file to DigitaleOcean Spaces with a GUI tool called CyberDuck from Windows 10 (or Windows 11) computer.
As alternate methods, we can split a larger file using 7zip and make it less than 2GB in several files. Several APIs and scripts are available to enable multipath upload to make it work when you try to upload a file that is more than 2GB. But we will keep it simple by using the existing GUI tools. FileZilla Pro is another option to use on Windows or Mac OS. You can find more GUI and CLI tools here.
How to Connect CyberDuck DigitalOcean Spaces & Upload File
1) Download CyberDuck for Windows from the official site here. It is an open-source, free program available for Windows and Mac. Install it on your Windows or Mac computer. In this example, I’m installing it on a Windows 10 computer. It can work on Windows 11 too.
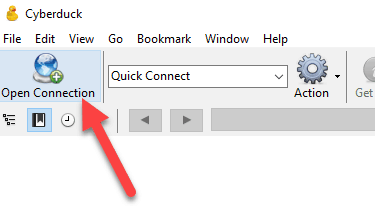
2) Click on ‘Quick Connect’ to set up a new connection to Spaces. From now onwards, we need to switch the screens to visit your DigitalOcean account to get a few details.
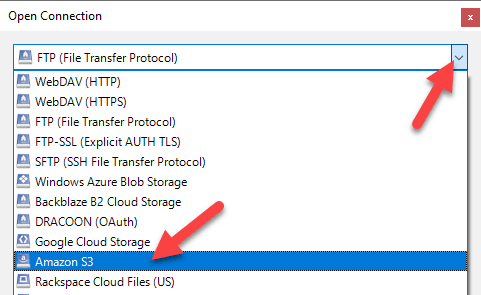
3) Change the connection type to Amazon S3. Since DigitalOcean supports the same Amazon S3 APIs, we must select this option.
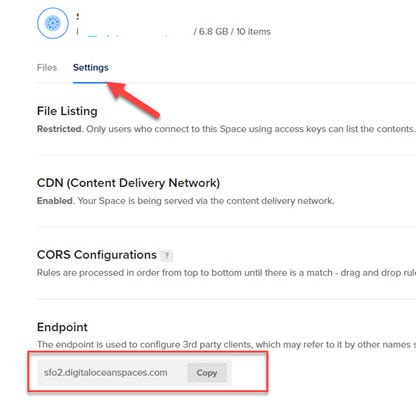
4) Next is to enter the server URL.
In your Spaces account setting, you can copy the endpoint URL. This is the server address we need to enter in CyberDuck. Since it has HTTPS, the port number will change to 443 automatically.
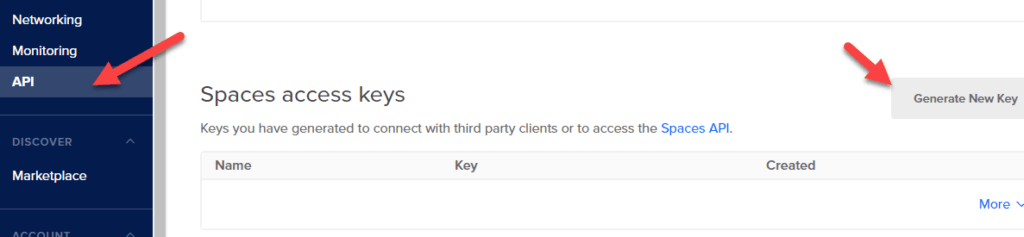
5) Access Key and Secret Access Key IDs should be created under API settings in the dashboard. Click on API and the ‘Generate New Key’ button.
You need to name the connection string to identify the key later. It will autogenerate Spaces access key strings as below.
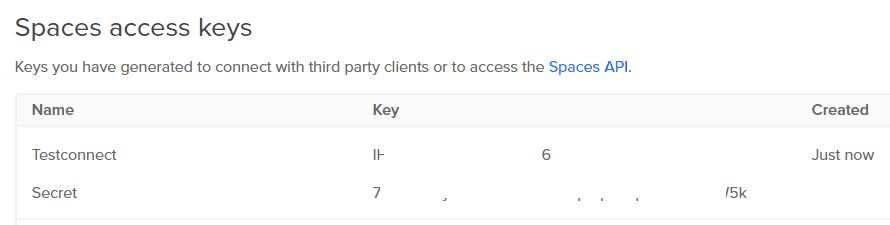
6) The first one with fewer characters is the Access Key ID, and the other is the Secret Access Key to connect through CyberDuck.
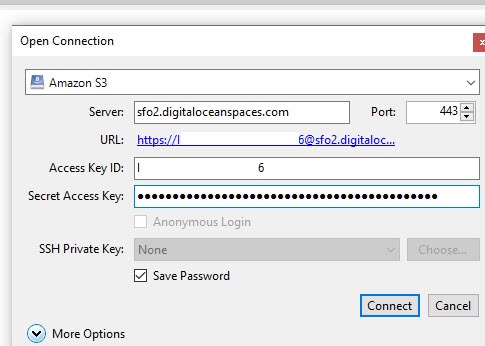
If everything is fine, once you press connect, it should connect your Spaces and list the folders.
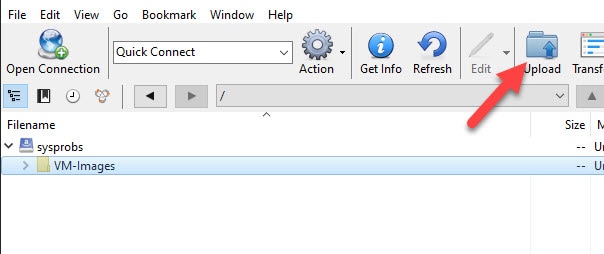
Select the proper folder (or create new folders through the GUI tool) and click upload.
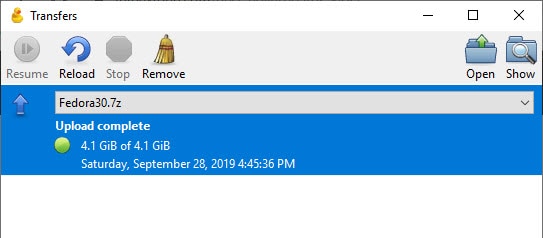
Now browse the file which is more than 2GB and upload it. It should upload successfully without fail, which happens in the web browser. I uploaded a 4GB single file to DigitaleOcean Spaces without issues using CyberDuck GUI from my Windows 10 computer.
The good part is you can pause and resume the upload. Even if the uploads break in the middle, once you close and open the program, it detects the uploaded data and continues from where it stopped. Using CyberDuck, you can rename, delete and move the folders and files stored in DigitalOcean Spaces.