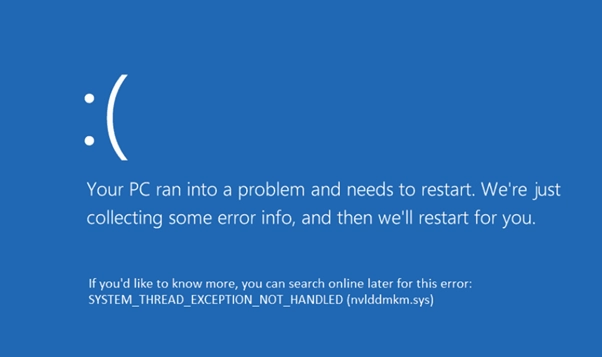
System thread exception not handled is a standard error and faced by almost all Windows users at least once. This error occurs during Blue Screen of Death (or also knowns as BSOD) with an error message as SYSTEM THREAD EXCEPTION NOT HANDLED. In this post, we will talk in details about what causes this error, how to check the problem causing software or hardware and how to fix it.
The error usually occurs due to a recent driver update or installation which doesn’t go hand in hand with other driver software’s running under the hood. The update might not be updated by the user but was done by the system while in the background. And there are high chances that initially users won’t be able to understand what went wrong all of a sudden.
Let’s now understand what different ways to find system thread exception not handled the issue are.
- By checking event viewer logs
- By analysing dump file available on Windows
- By running driver verifier manager utility and locate incompatible drivers
Find the Ways
1. By checking event viewer logs
Looking at event viewer logs is the easiest option to find issues in the PC quickly. To access the event viewer logs and see the error, the user needs to follow the below steps:
- Go to start -> In the “Type here to search” -> enter -> Event Viewer -> enter
- In the event viewer window, from left-hand side select “Windows Logs” -> then select “System.”
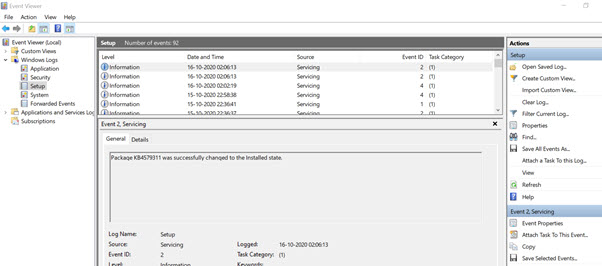
- In the same interface, a list of data will appear
- Now from the right-hand side, look for the “Filter Current Log…” option and click on it
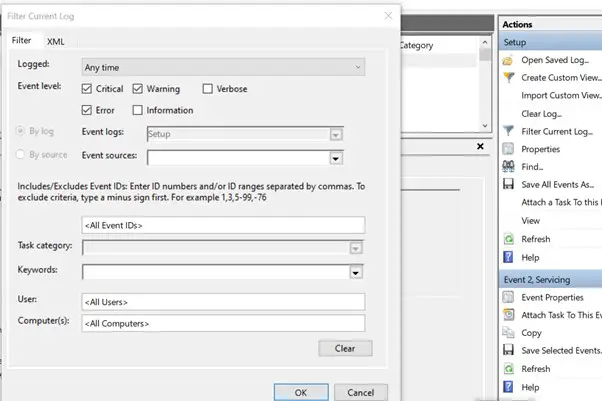
- It will open the “Filter Current Log” window, from the event-level section -> click on “Critical”, “Warning” and “Error” and hit OK.
- Once the above filters are selected, a list of critical, warning and errors will appear. Out of the above three, the most important one to look after is “Critical.”
- Under critical error, start clicking on each error logs and in one of the recent errors you should see an error related to “SYSTEM THREAD EXCEPTION NOT HANDLED” with an exact name of the file that caused the crash.
2. By analyzing dump file available on Windows:
Whenever the system crashes with BSOD, it created a dump file. The dump file helps to narrow down the hardware or software issue by analysing the dump file.
By default, on Windows, the dump file is saved here: C:\Windows\Minidump
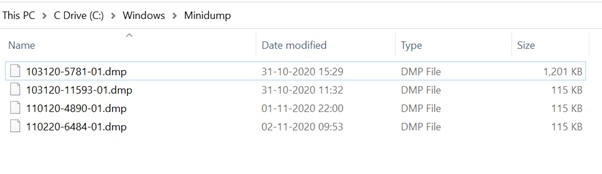
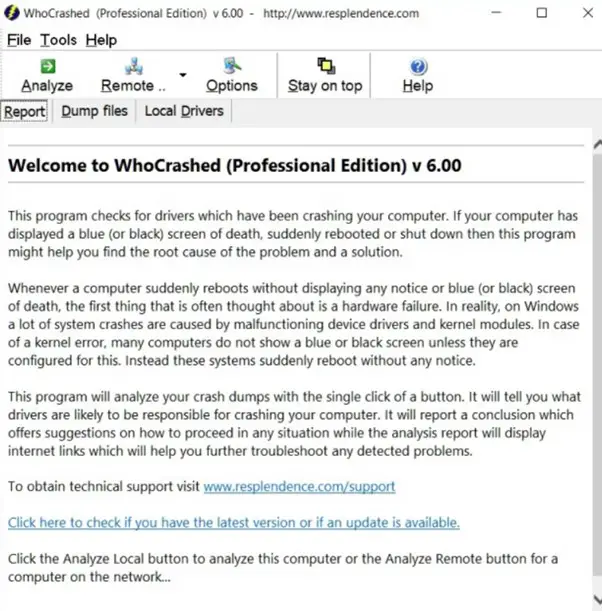
The Minidump folder contains all current system crashes with dump files sorted by date. These dump files can be easily read and understand what caused the issue by using third party application WHOCRASHED. This is a freeware tool used to analyse dump files quickly.
3. By running driver verifier manager utility:
Microsoft introduced driver verifier manager utility; it allows end-user to locate any driver-related issues on the computer quickly.
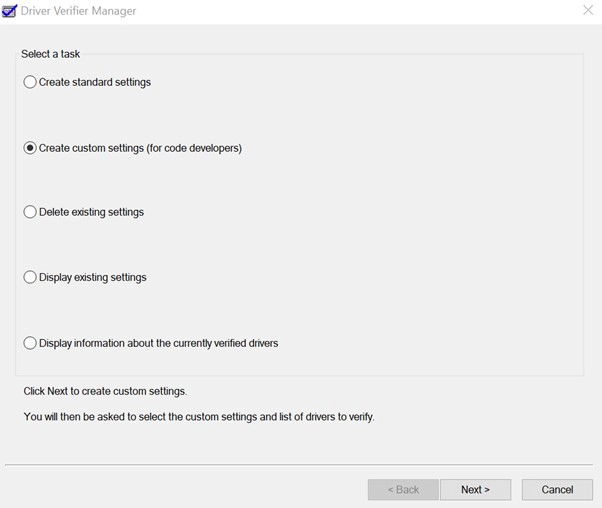
- To start with the process, user need to go to start -> Type here to search “verifier” -> right-click -> select run as administrator
- A driver verifier manager window will appear, select 2nd option; create customer settings (for code developers) -> next
- Except “DDI compliance checking and randomized low resource simulation”, select all options and hit next
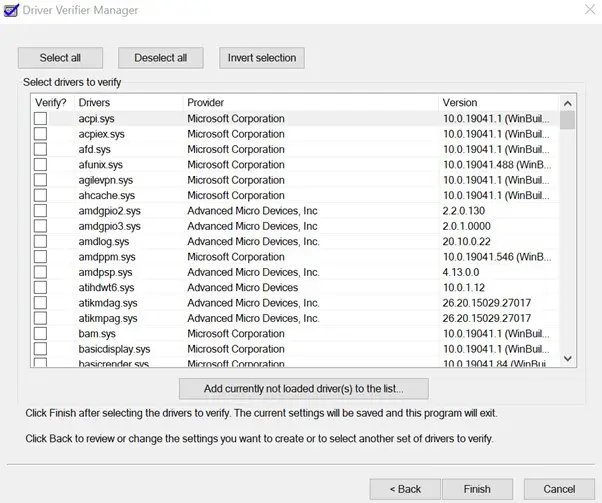
- Select the “driver name from a list” option and hit the next button
- Select all drivers except for those provided by Microsoft and hit FINISH.
Now, please restart the computer and use the PC as it is and let the PC crash. If the system crashes, it will automatically find the problem causing the driver and help the user to fix it quickly.
After we are done finding the driver file that is causing the issue, now let’s talk about common driver errors that occur during a system crash.
Usually, when system thread exception not handled error occurs, it is caused by below driver files:
- ntfs.sys: This error is related to Windows NT Server which can be resolved either by SFC scan now or by repairing the Windows
- atikmdag.sys: This error is related to the AMD graphic card, if in case you are using any AMD graphics card or having any AMD APU then you need to fix the driver by reinstalling
- nvlddmkm.sys: Like AMD graphics card, this error is related to NVIDIA cards. This error usually occurs when Windows is unable to communicate correctly with the graphics driver and causes the crash. The fix is to reinstall the driver using DDU and to reinstall the latest copy.
- CMUDA.sys: This error usually occurs due to issue related to USB drivers. USB drivers either belongs to an audio manufacturer or it can be an issue related to the universal serial bus controller.
These were some of the most common drivers that cause system crash; however, for any other system crash user need to search to find the issue.
The exciting part is, there is a site named CARONA that keeps a database of all other popular driver’s files. User can search for their driver file name here to find the exact name of the driver and to whom it belongs to fix it further.
How to Fix System Thread Exception Not Handled
There are various ways to troubleshoot and fix the issue, but here we’ll discuss a few of the easiest way to resolve the issue.
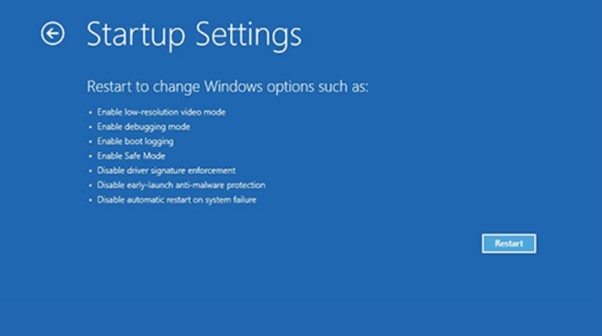
STEP 1: Start Computer in Safe Mode
Start the computer in safe mode by pressing SHIFT + F8 key on the keyboard until you see the blue recovery screen.
Select “advanced bot options” -> “Safe Mode”
STEP 2: Uninstall the Corrupt Drivers
- In this step, go to the device manager by searching “device manager” in the search box and hit enter
- It will show the device manager window, select the display icon to uninstall graphics driver and or select any other peripheral option -> right-click -> Uninstall device
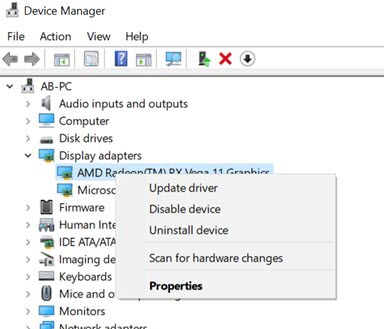
- Once done with the uninstallation process-> restart the PC
STEP 3: Install Fresh Drivers
After step 2, the system will boot into normal mode, and for this step, we need a system to boot in normal mode as installation can’t be done in safe mode because the windows installer service doesn’t work.
- Download a fresh copy of drivers (display/sound/etc.)
- Install the drivers and wait for the process to complete
- After the installation process is done, the user can start testing the driver by using the Windows inbuilt “verifier” feature.
- Test for a few days and see how it works, in case everything works fine then its done else move to the next step.
STEP 4: Run System Integrity Test
In this step, we are going to check for any problem in our Windows OS, and we’ll look for where it is failing.
The primary purpose of this step is to see if there is an issue present in our system.
- Go to start -> In the search box, type “command prompt” -> right click -> run as administrator
- In the command prompt window, type: chkdsk /F /R -> enter -> select “Yes”

- Now, restart the computer and system will check for any issue integrity issue in the computer OS.
In this step, we will be able to find whether there is an issue in our System OS or not. In case, there is any then we need to move to next to run an SFC scan to fix it.
STEP 5: Run SFC Scan now to Fix System Files
In this step, after finding an issue in our system file, we’ll now try to fix it using Windows inbuilt SFC Scan now feature.
- To start with, go to start -> In the search box, type “command prompt” -> right click -> run as administrator
- In the command prompt window, type: sfc /scannow -> enter
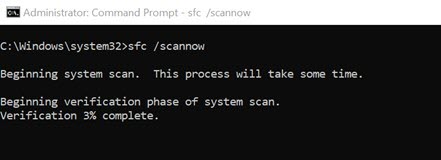
- Now let the system scan and fix issues in Windows OS, this process will take time
- Once the above step is complete, and SFC scan now can find and fix issues, then it’s done else move to next step.
STEP 6: Restore PC to Previous Date:
Usually whenever there is an installation of a new application on the computer, mostly in case of third-party drivers.
The system tries to create a restore point to help rollback to a previous version of system image in case of any issue.
In this step, we will follow the below steps to select a restore point and will try to rollback the system to a previous date.
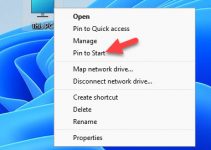
- Go to Start -> In the search box, type “Restore Point” -> enter
- It will open the System Properties window, under System Restore -> select System Restore
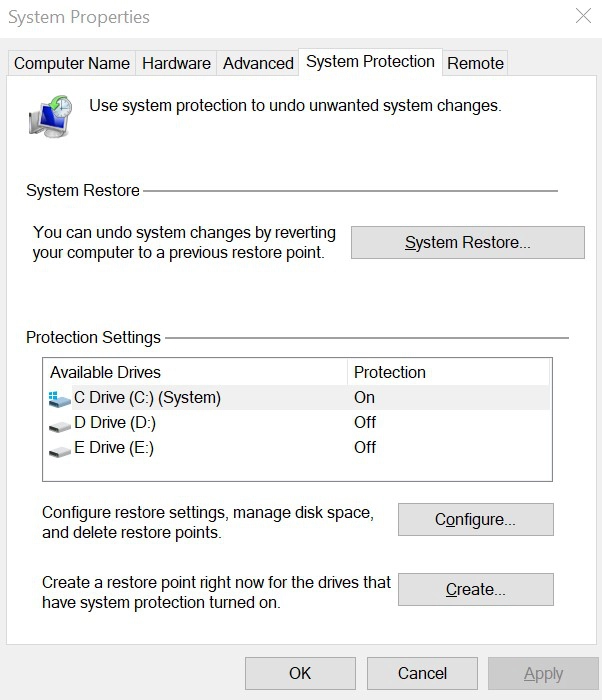
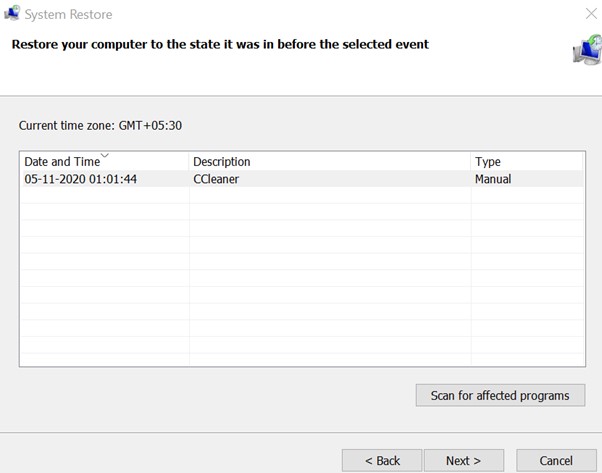
- System Restore window will appear, hit Next -> Select a Restore Point as shown below -> hit Next, and it will restore the system to previously selected date after system restart
This step is useful in case the user knows that they installed an application last night since then it is causing the system thread expectation not handled error.
In case all the above five steps didn’t help to fix the problem, then last resort will be System Reset.
STEP 7: Reset PC
This is the last resort to get the system working. In this step, Windows will reset everything based on selection and make the system up and running without reinstalling the complete OS.
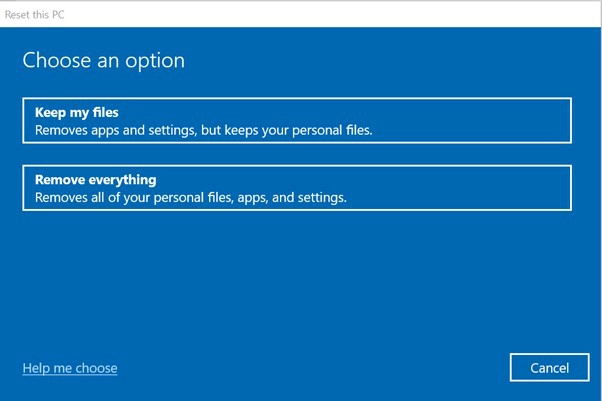
It will remove all installed applications/drivers and software by keeping all personal files and folder intact.
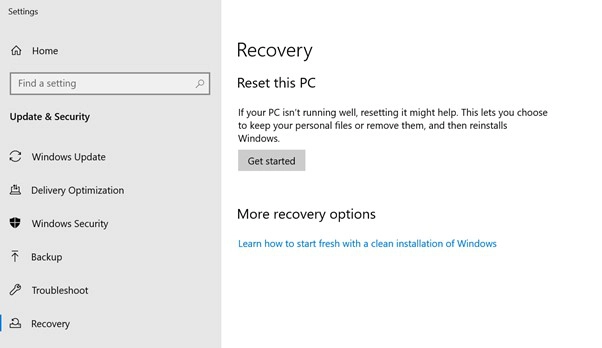
- To start with the process, go to start -> type “Reset this PC” -> enter
- A recovery window with “Get Started” option will appear
- By clicking on Get Started, the reset process will start, and it will go after a few restarts.
In this post, we have tried to cover all possible ways to fix system thread exception not handled error. Do let us know after following how many steps you were able to resolve this error in the comments down below.