Auto Login Windows 11 is a hassle-free way to access the desktop. Passwords and PIN codes are an excellent way to safeguard your privacy. They are effective and the best way to keep your information safe in public places. But that entire scenario changes when using the computer at your home in a safe environment.
Logging in all the time is a tedious task. Cutting through all the red tape to access the desktop screen all the time. So, what do you do to rectify it? Well, the answer is Auto Login. It’s a useful feature that lets you access your desktop conveniently without a login screen.
So, keep reading the following article and find out; how to set up auto login in Windows 11 &10.
Advantages & Disadvantages of Windows Auto Login
There are plenty of reasons to set up this feature and several reasons not to.
The obvious advantage of Windows auto login is skipping the login screen. You will be able to access the desktop easily and fast. And there’s no need to remember the password. It is the best choice for a home computer, where the computer is used by multiple family members all the time.
But after setting up auto login Windows 11, you will lose the ability to secure your files. There would be no privacy. So, it is best not to use auto-login on a work computer.
Set Up Auto Login Windows 11 (Regular Account)
The steps to enable Auto Login Windows 10 or 11 on your personal/home computer are easier compared to the computer connected to a Domain. So, here are the steps.
- This method requires opening the Advanced User Accounts program.
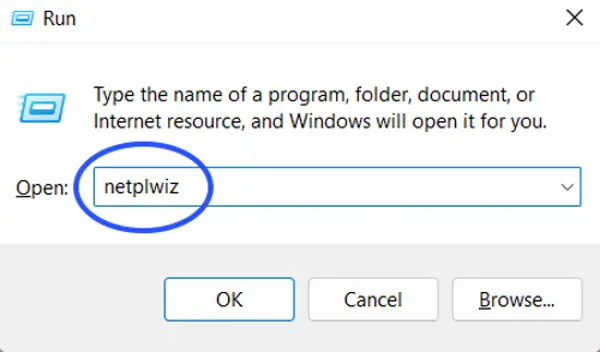
- Press Win + R on your keyboard to pull up the RUN dialog box.
- Type “netplwiz” in the box and click the OK button.
- At the very top of the User Accounts panel under the Users tab, you will find a box that says, “Users Must Enter a Username and password to Use this Computer.” Uncheck this box and click Apply.
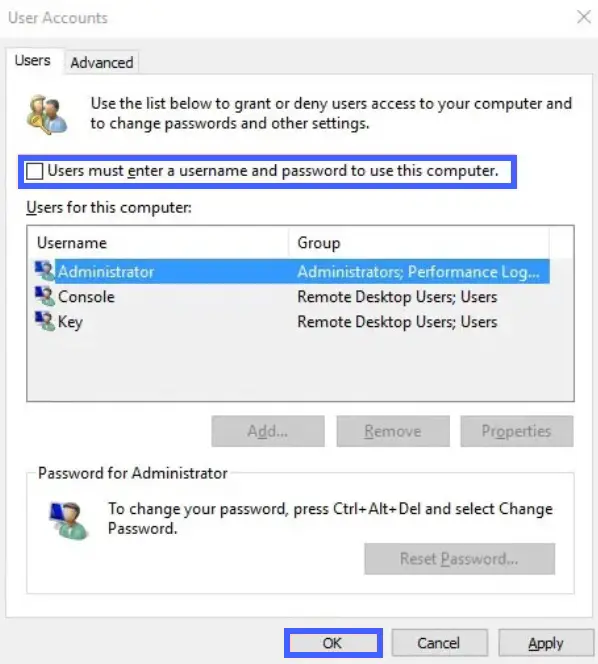
- A new window will appear where you need to provide a username for the auto login. After that, set a password by filling in the following two boxes.
- Click OK to save, and close the open windows.
- Now, restart your computer to confirm Windows automatically logging in for you.
As you can see, setting up auto login on Windows 11 is not a difficult task and works on Windows 10.
Set Up Auto Login Windows 11 (Domain Account)
Now, the previous method for setting up auto login Windows 11 wasn’t exactly complicated, but you won’t be able to use it to configure if your computer is part of a domain.
The domain login situation is a bit different. It is also a common practice for large business networks. If you work in an office, your work computer is a part of that company’s domain. So, your credentials for that computer are stored on the company’s server, operated by the IT department. It makes the process a bit difficult. But don’t worry, we will show you the steps.
- You have to access Windows Registry Editor for this method.
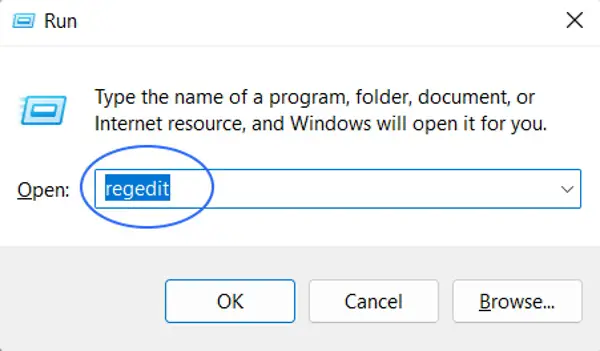
- Press Win + R on your keyboard to pull up the RUN dialog box.
- Type “regedit” in the box and click the OK button.
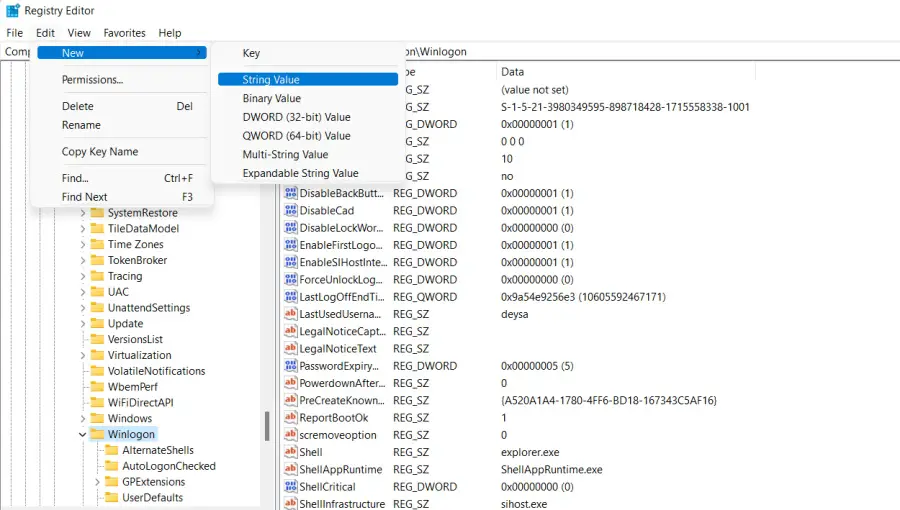
- It will open Windows Registry Editor. In the registry hive listing on the left, locate HKEY_LOCAL_MACHINE.
- Then, follow this navigation. SOFTWARE -> Microsoft -> Windows NT -> CurrentVersion -> Winlogon.
- Select Winlogon on the left side of the panel. Its values will display on the right side.
- Locate AutoAdminLogon on the right side and double-click. Change its value data from 1 to 0.
- Click OK and close the windows.
Now, restart the computer. But it’s not the end of the procedure. After restarting the computer, execute the first procedure (For Regular Account) to set up auto login Windows 11. As usual, this method will work on Windows 10 as well.
If Auto Login Windows 11 for Domain Account Method Doesn’t Work
The previous auto login Windows 11 for domain account method should work. But there’s a slim chance of being unsuccessful. If that happens, don’t worry. You may have to add a few additional registry values manually.
It won’t be an issue if you are an advanced Windows user. Otherwise, we are here to show you the steps.
- First, you need to follow the Domain Methods previously discussed and work your way to Winlogon.
- Add string values of DefaultDomainName, DefaultUserName, and DefaultPassword.
- Likely, the mentioned entries won’t be available. So, you have to create new entries and name them. You can create new entries through Edit -> New -> String Value.
- Now, set the Value data as your domain, user name, and password, respectively.
Finally, restart your computer to verify whether you can auto-login to your Windows account without credentials.
Related: How to a setup domain controller in Windows 2022 Server
How to Enable Auto Lock on Windows
The auto lock is an excellent Windows feature dedicated to protecting your privacy. If this option is enabled, your computer will lock automatically; whenever you step away from it.
Windows uses devices paired to your PC to detect your location range. If this feature is enabled, you won’t have to worry after stepping away from your computer. Windows will lock the screen. It’s called Dynamic Lock, and it will be extremely useful if you have decided to set up auto login Windows 11. Here’s how to activate it.
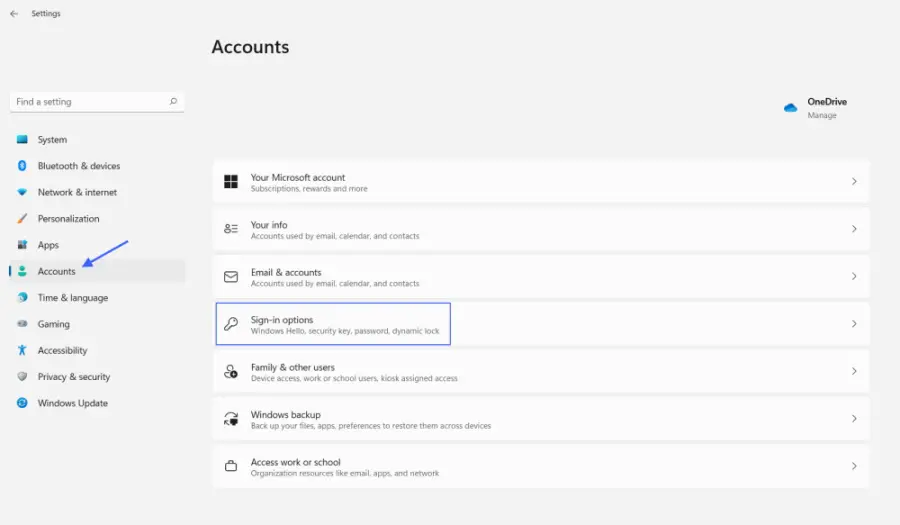
- Click the Start button and navigate to Windows Settings.
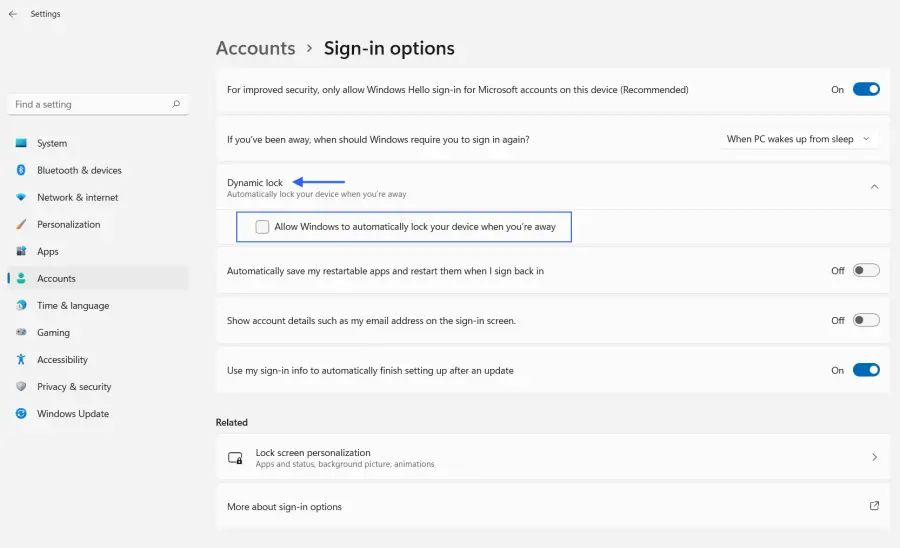
- Go to Accounts and click Sign-in Options.
- Check the box after “Allow Windows to Automatically Lock Your Device When You’re Away” under Dynamic Lock.
You are all set. Next time you step away from your computer, do not forget to take your smartphone. Dynamic Lock works with Bluetooth. After you are out of range for one or two minutes, it will lock your computer.
A Word of Warning
Changing Windows Registry is a risky move. Several online forums and media casually advise users to change the registry entries. It’s not right. Be very careful. A single mistake can ruin the entire system.
If you must make changes, we recommend creating a restore point. If anything goes wrong, you will be able to restore the system. Enabling the automatic features will surely make your life easier, but not at the expanse of your PC.
If you are setting up auto login Windows 11 on your home computer, it’s more or less okay. But on a work computer or laptop is not recommended.
Is it safe to enable auto login in Windows?
Skipping the login screen to access the desktop directly sounds great, but it is not always a good idea. So much so; this may even be considered a bad idea.
The first problem with auto-login is the security risk. If we are talking about your home computer or personal PC, it’s probably okay. On the other hand, if you are using a Windows laptop, tablet, or notebook, pretty much anything that may leave the premise of your house, setting up auto-loin on that computer would be a bad idea.
The login screen is the first defense for your privacy. Just imagine your device gets stolen, and it has auto-login enabled. Think of the damage it would do. The thief would have unwarranted access to all of your information.
Another thing to consider is multiple user accounts. If the computer you are using has more than one user account and you want to enable auto login for one of those accounts, you have to log out or switch users from your automatic account to use the other user account. In layman’s terms, if you choose to set up auto login Windows on a computer with multiple accounts, you are just ruining the experience of others.